Quick start
This guide will show you how to use the PristinePDF web application
Step-by-step instructions
Follow these step-by-step visual guides to get started with Pristine PDF. Each image shows you exactly what you need to do to set up and start using the application.
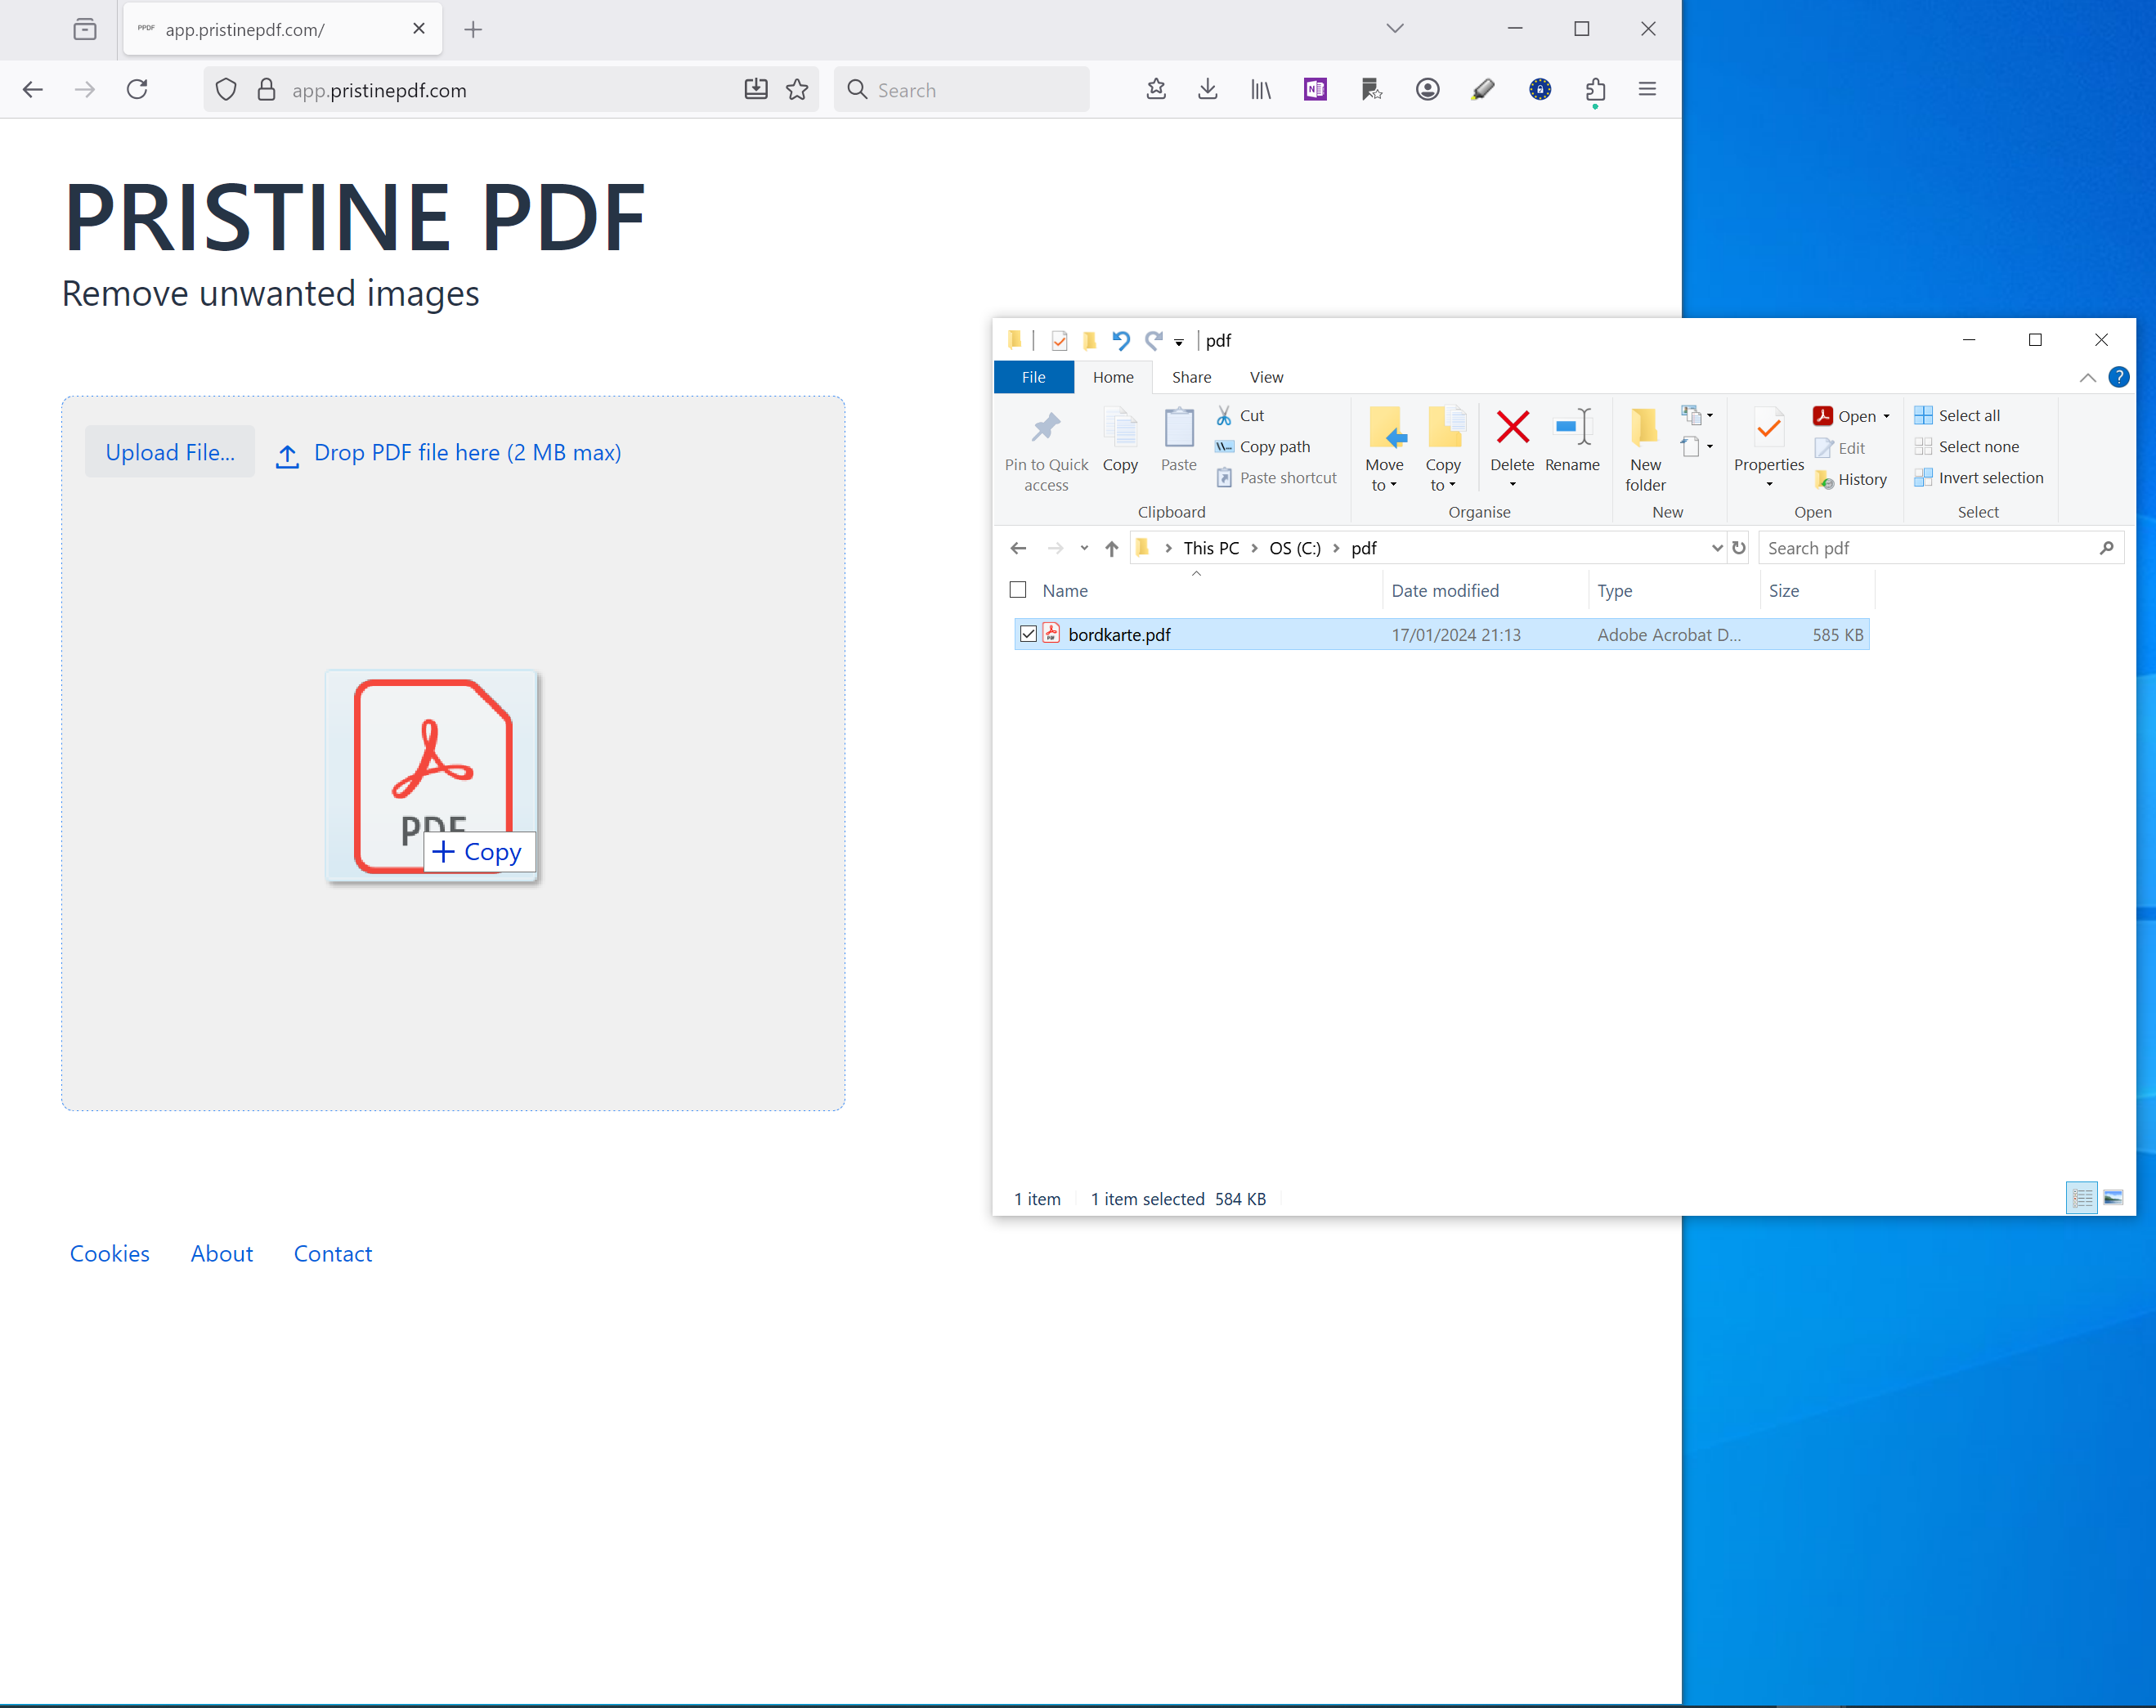
Step 1: Load PDF file
Load a file with the button "Upload File" or drag and drop it from a file browser.
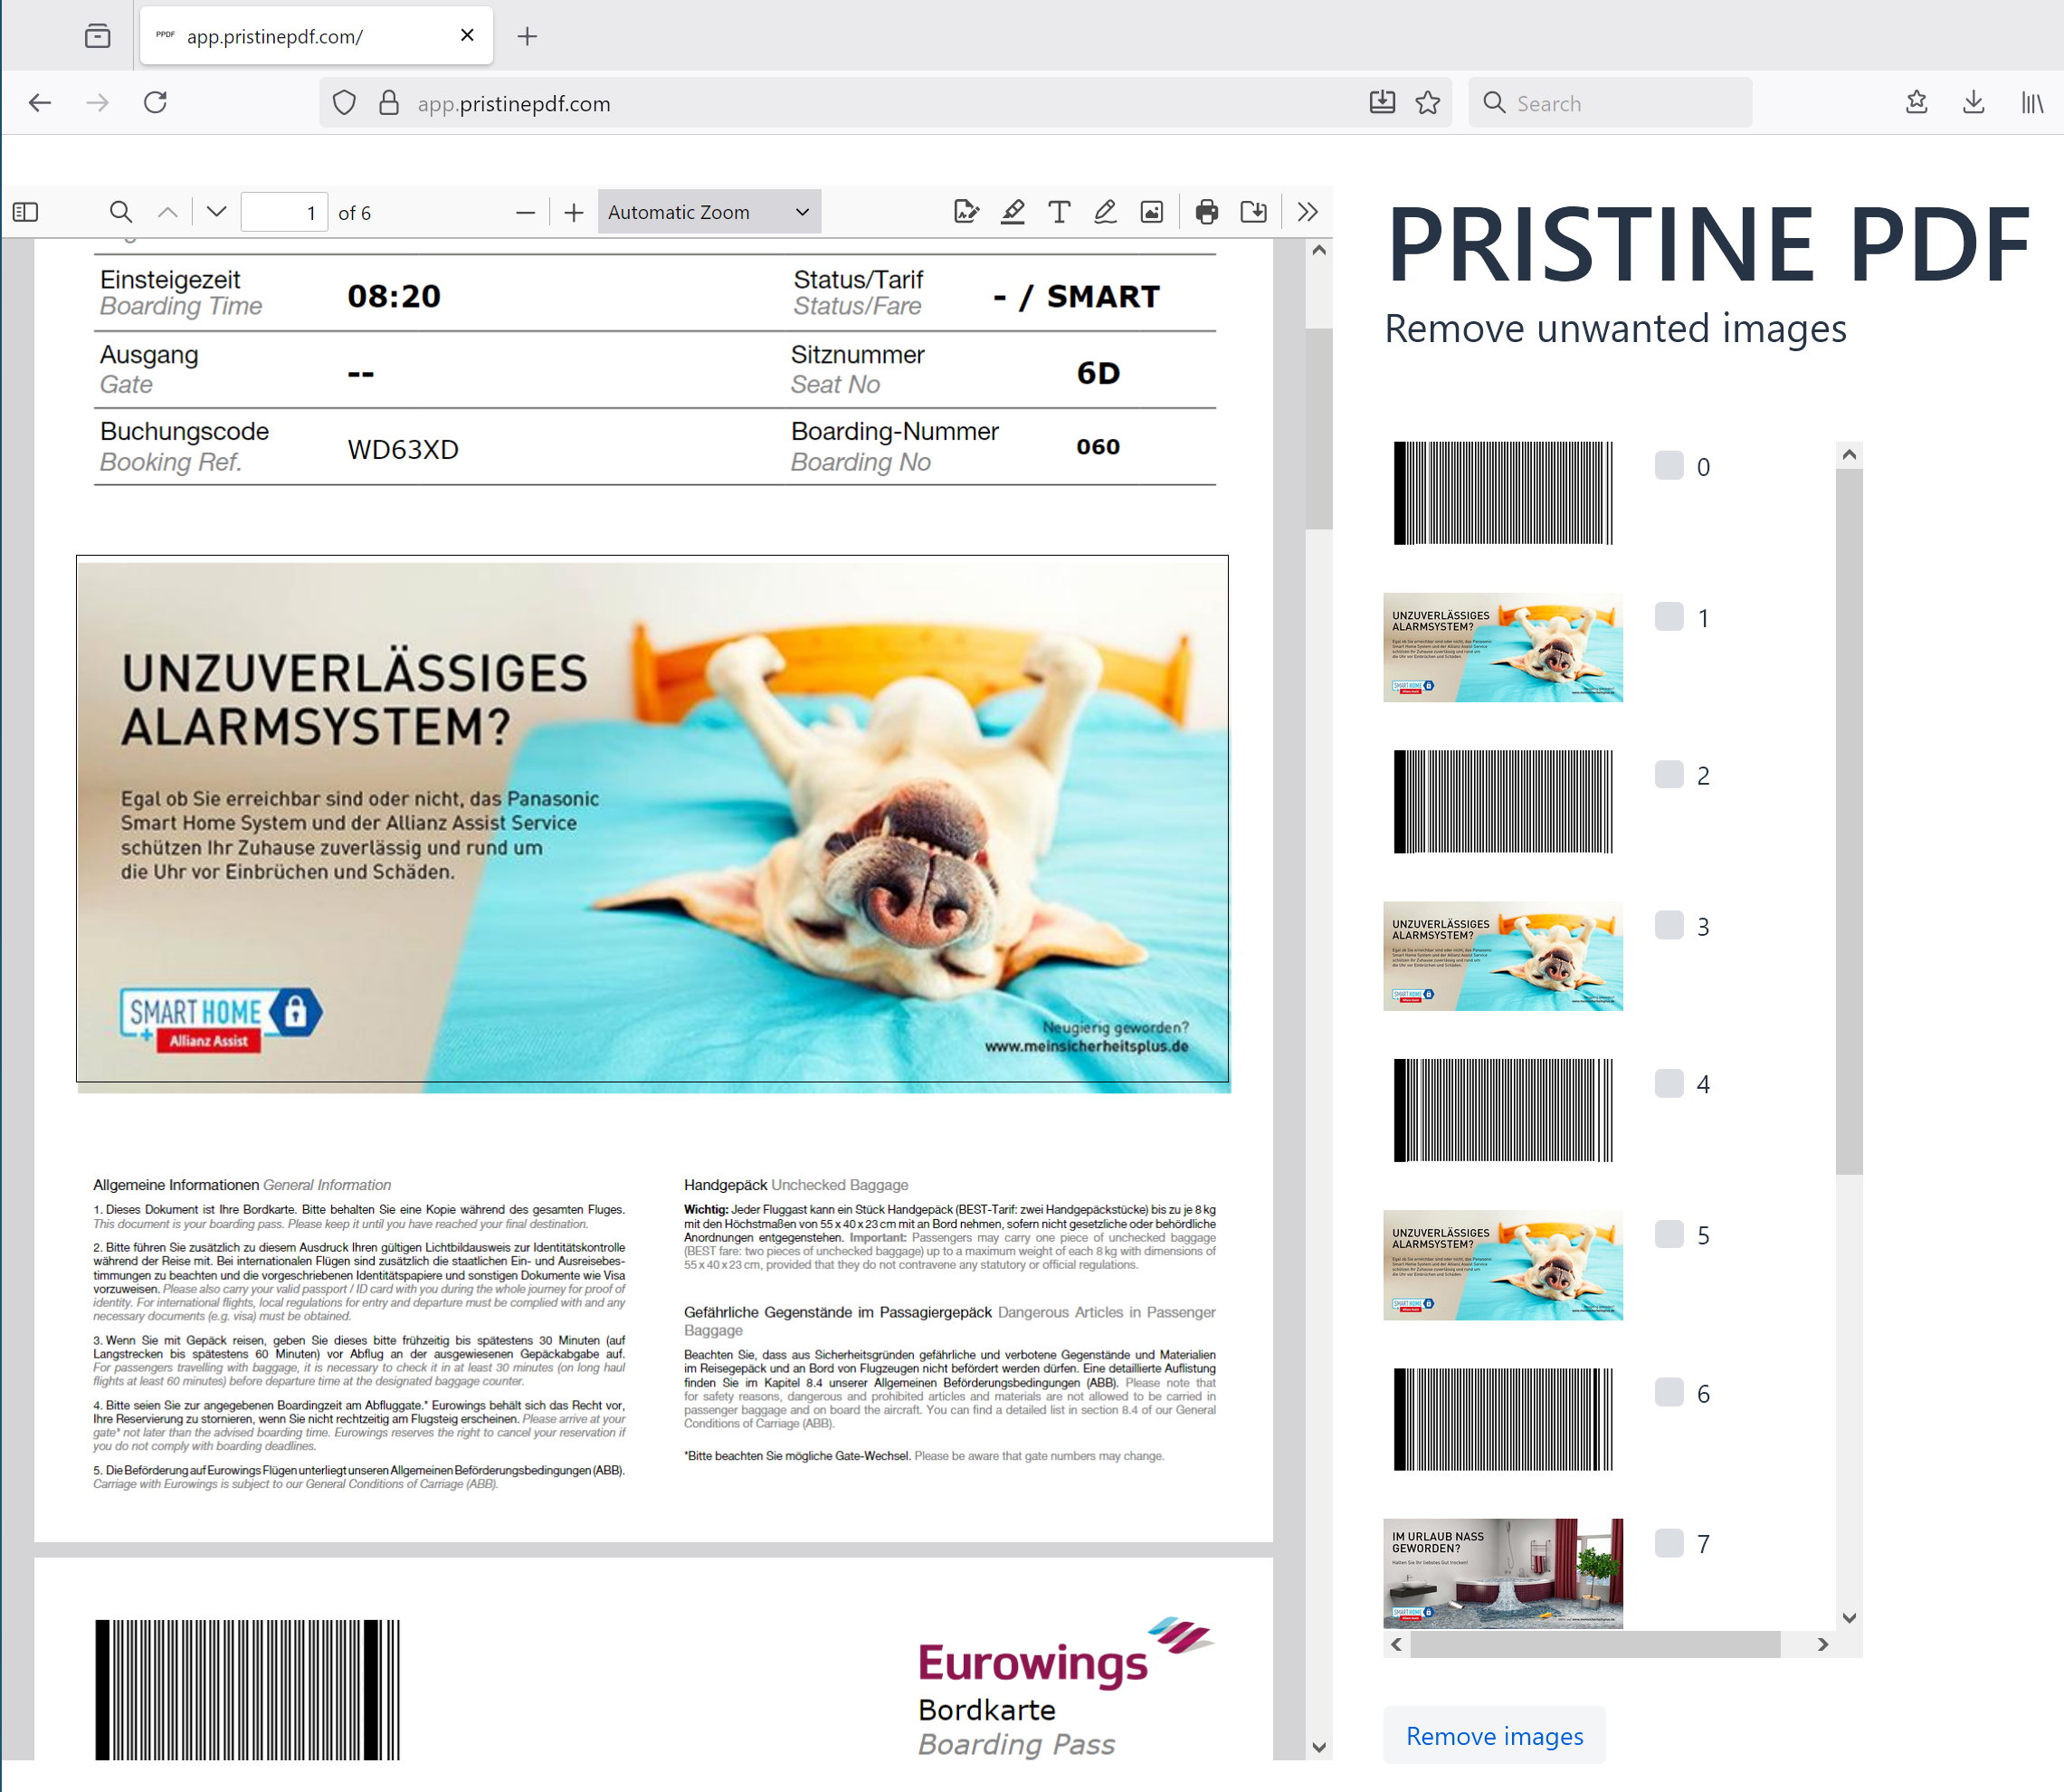
Step 2: PDF and image preview
The PDF document preview is shown on the left and the list of images on the right.
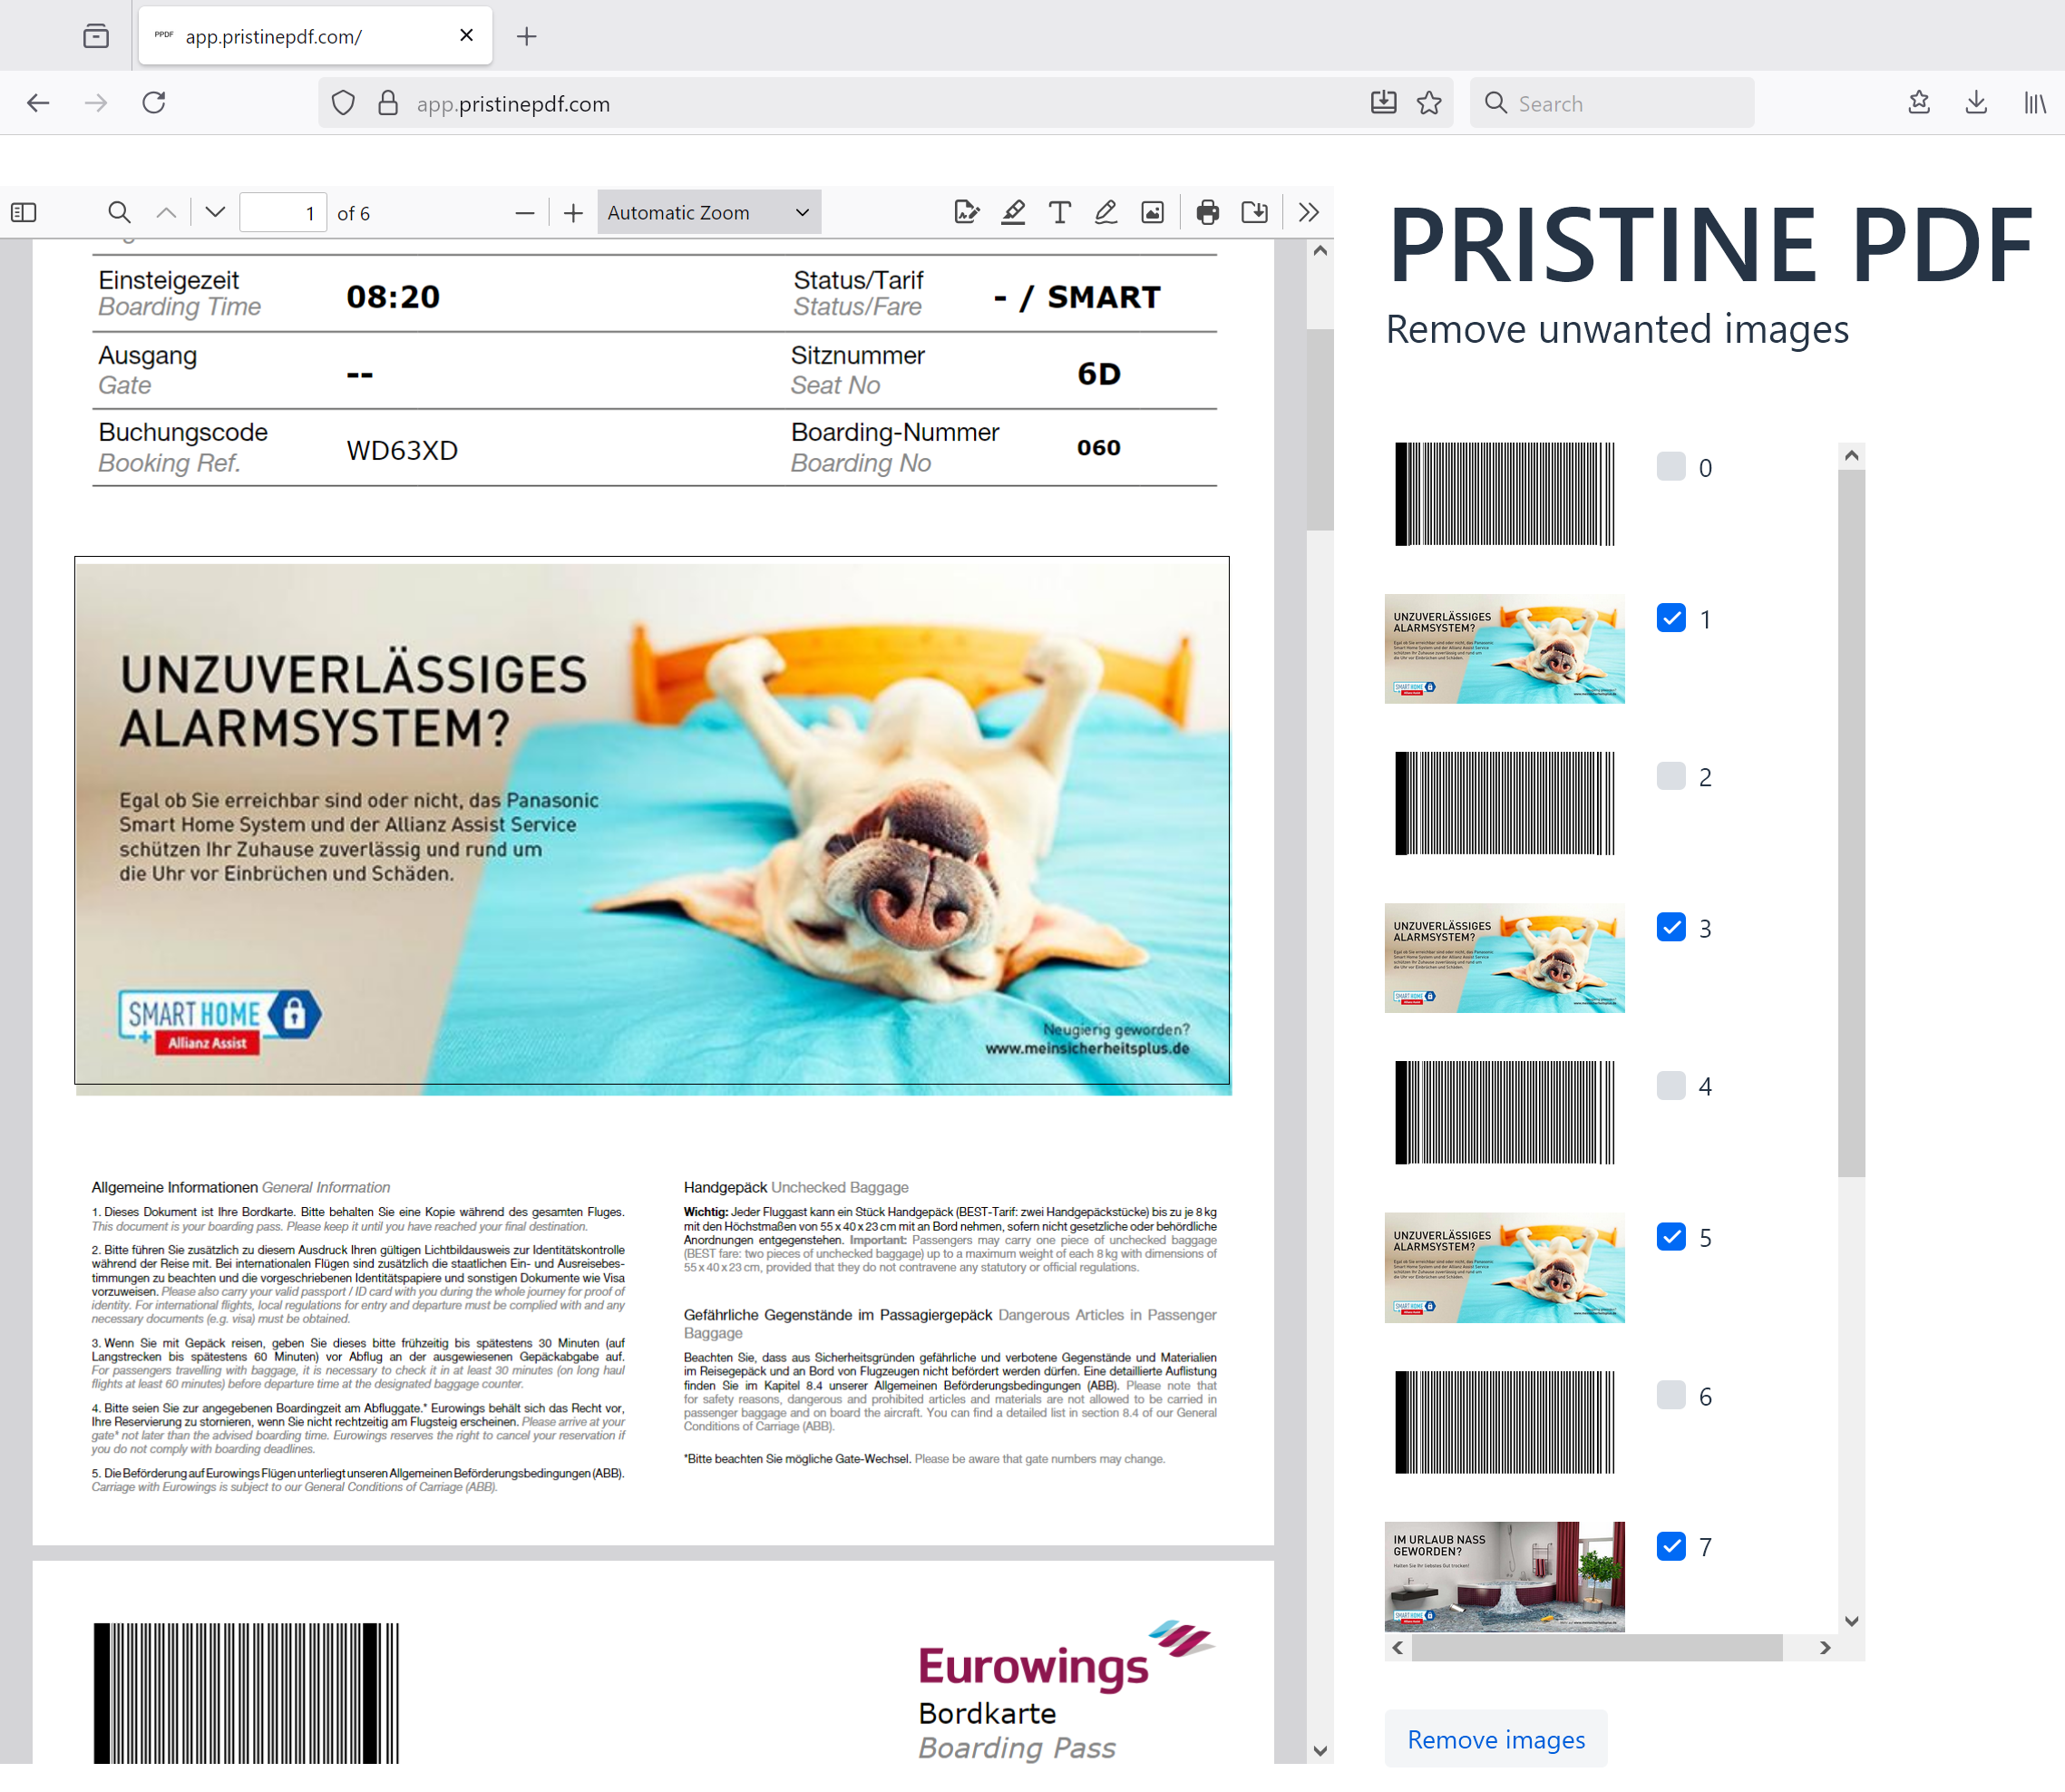
Step 3: Image selection
Select the images on the right that you want to remove. Press the button "Remove images".
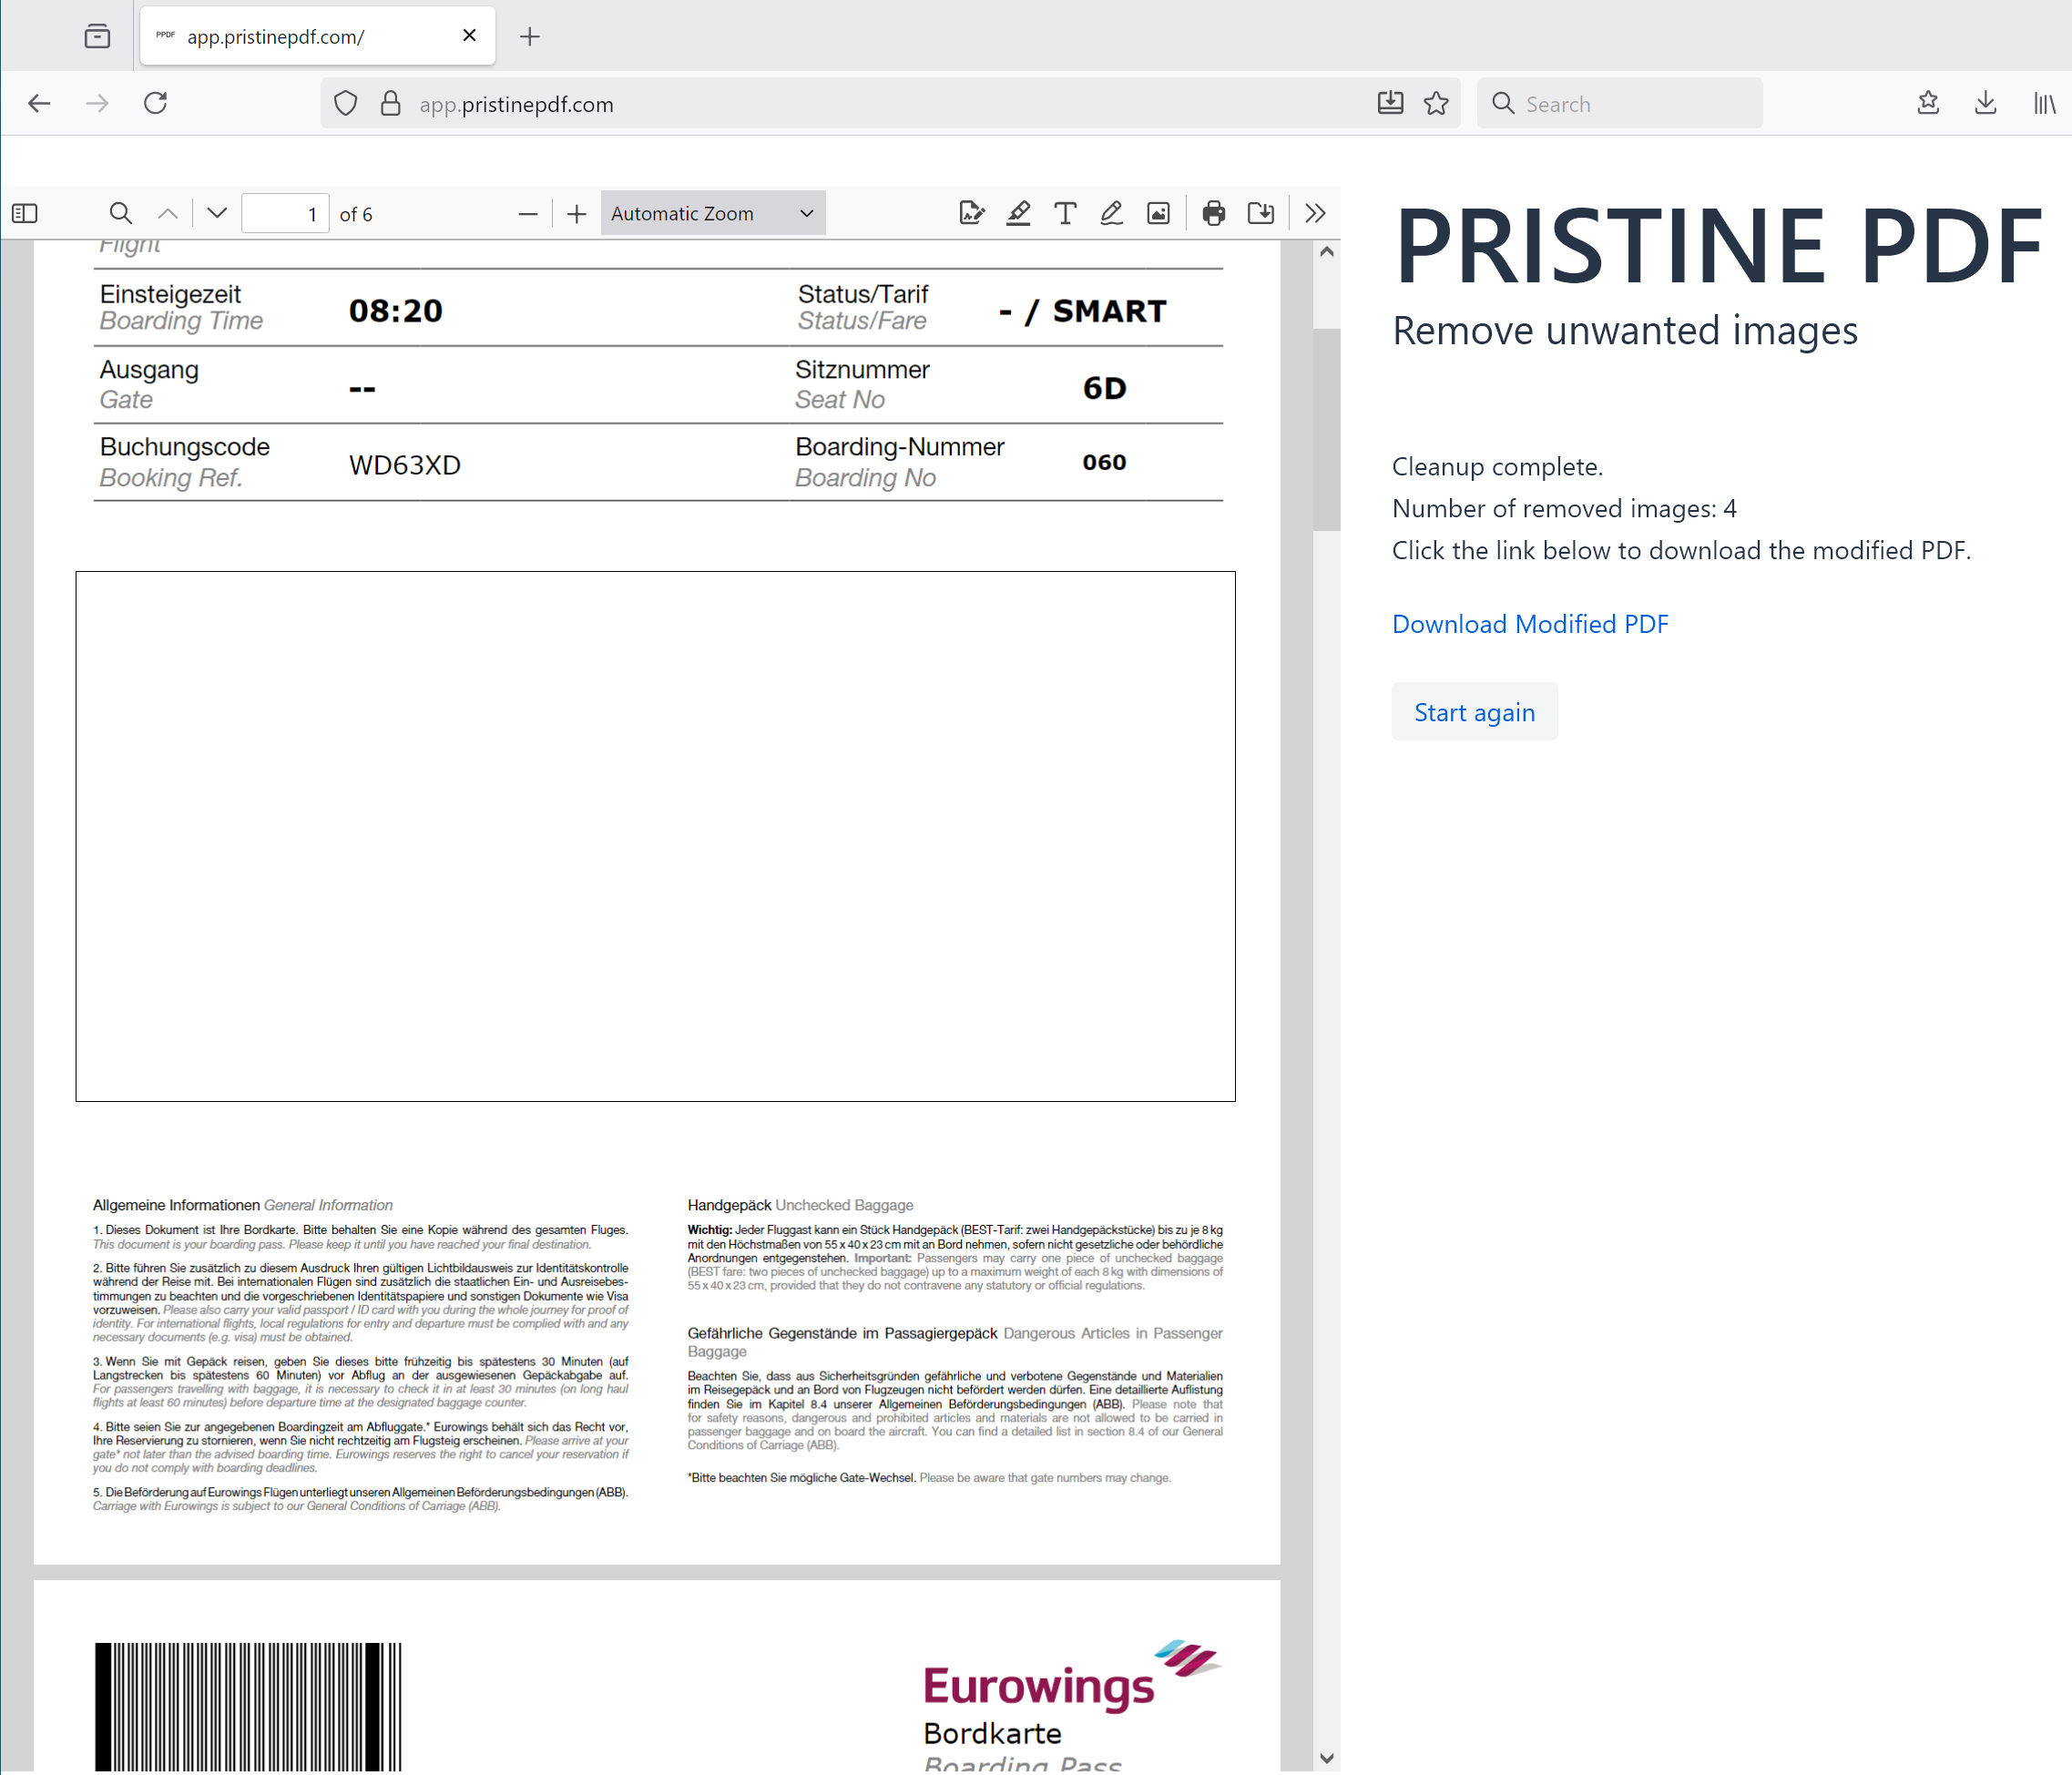
Step 4: Result preview
Have a look at the document preview on the left to verify the PDF document with the selected images removed. If happy with the result, press "Download modified PDF" or the button "Start again"
Step 5: Download PDF document
If "Download modified PDF" was clicked in the previous step, the PDF document will be downloaded in a new browser tab. Go to the file menu and select "Save as" or press CTRL-S in the browser tab.
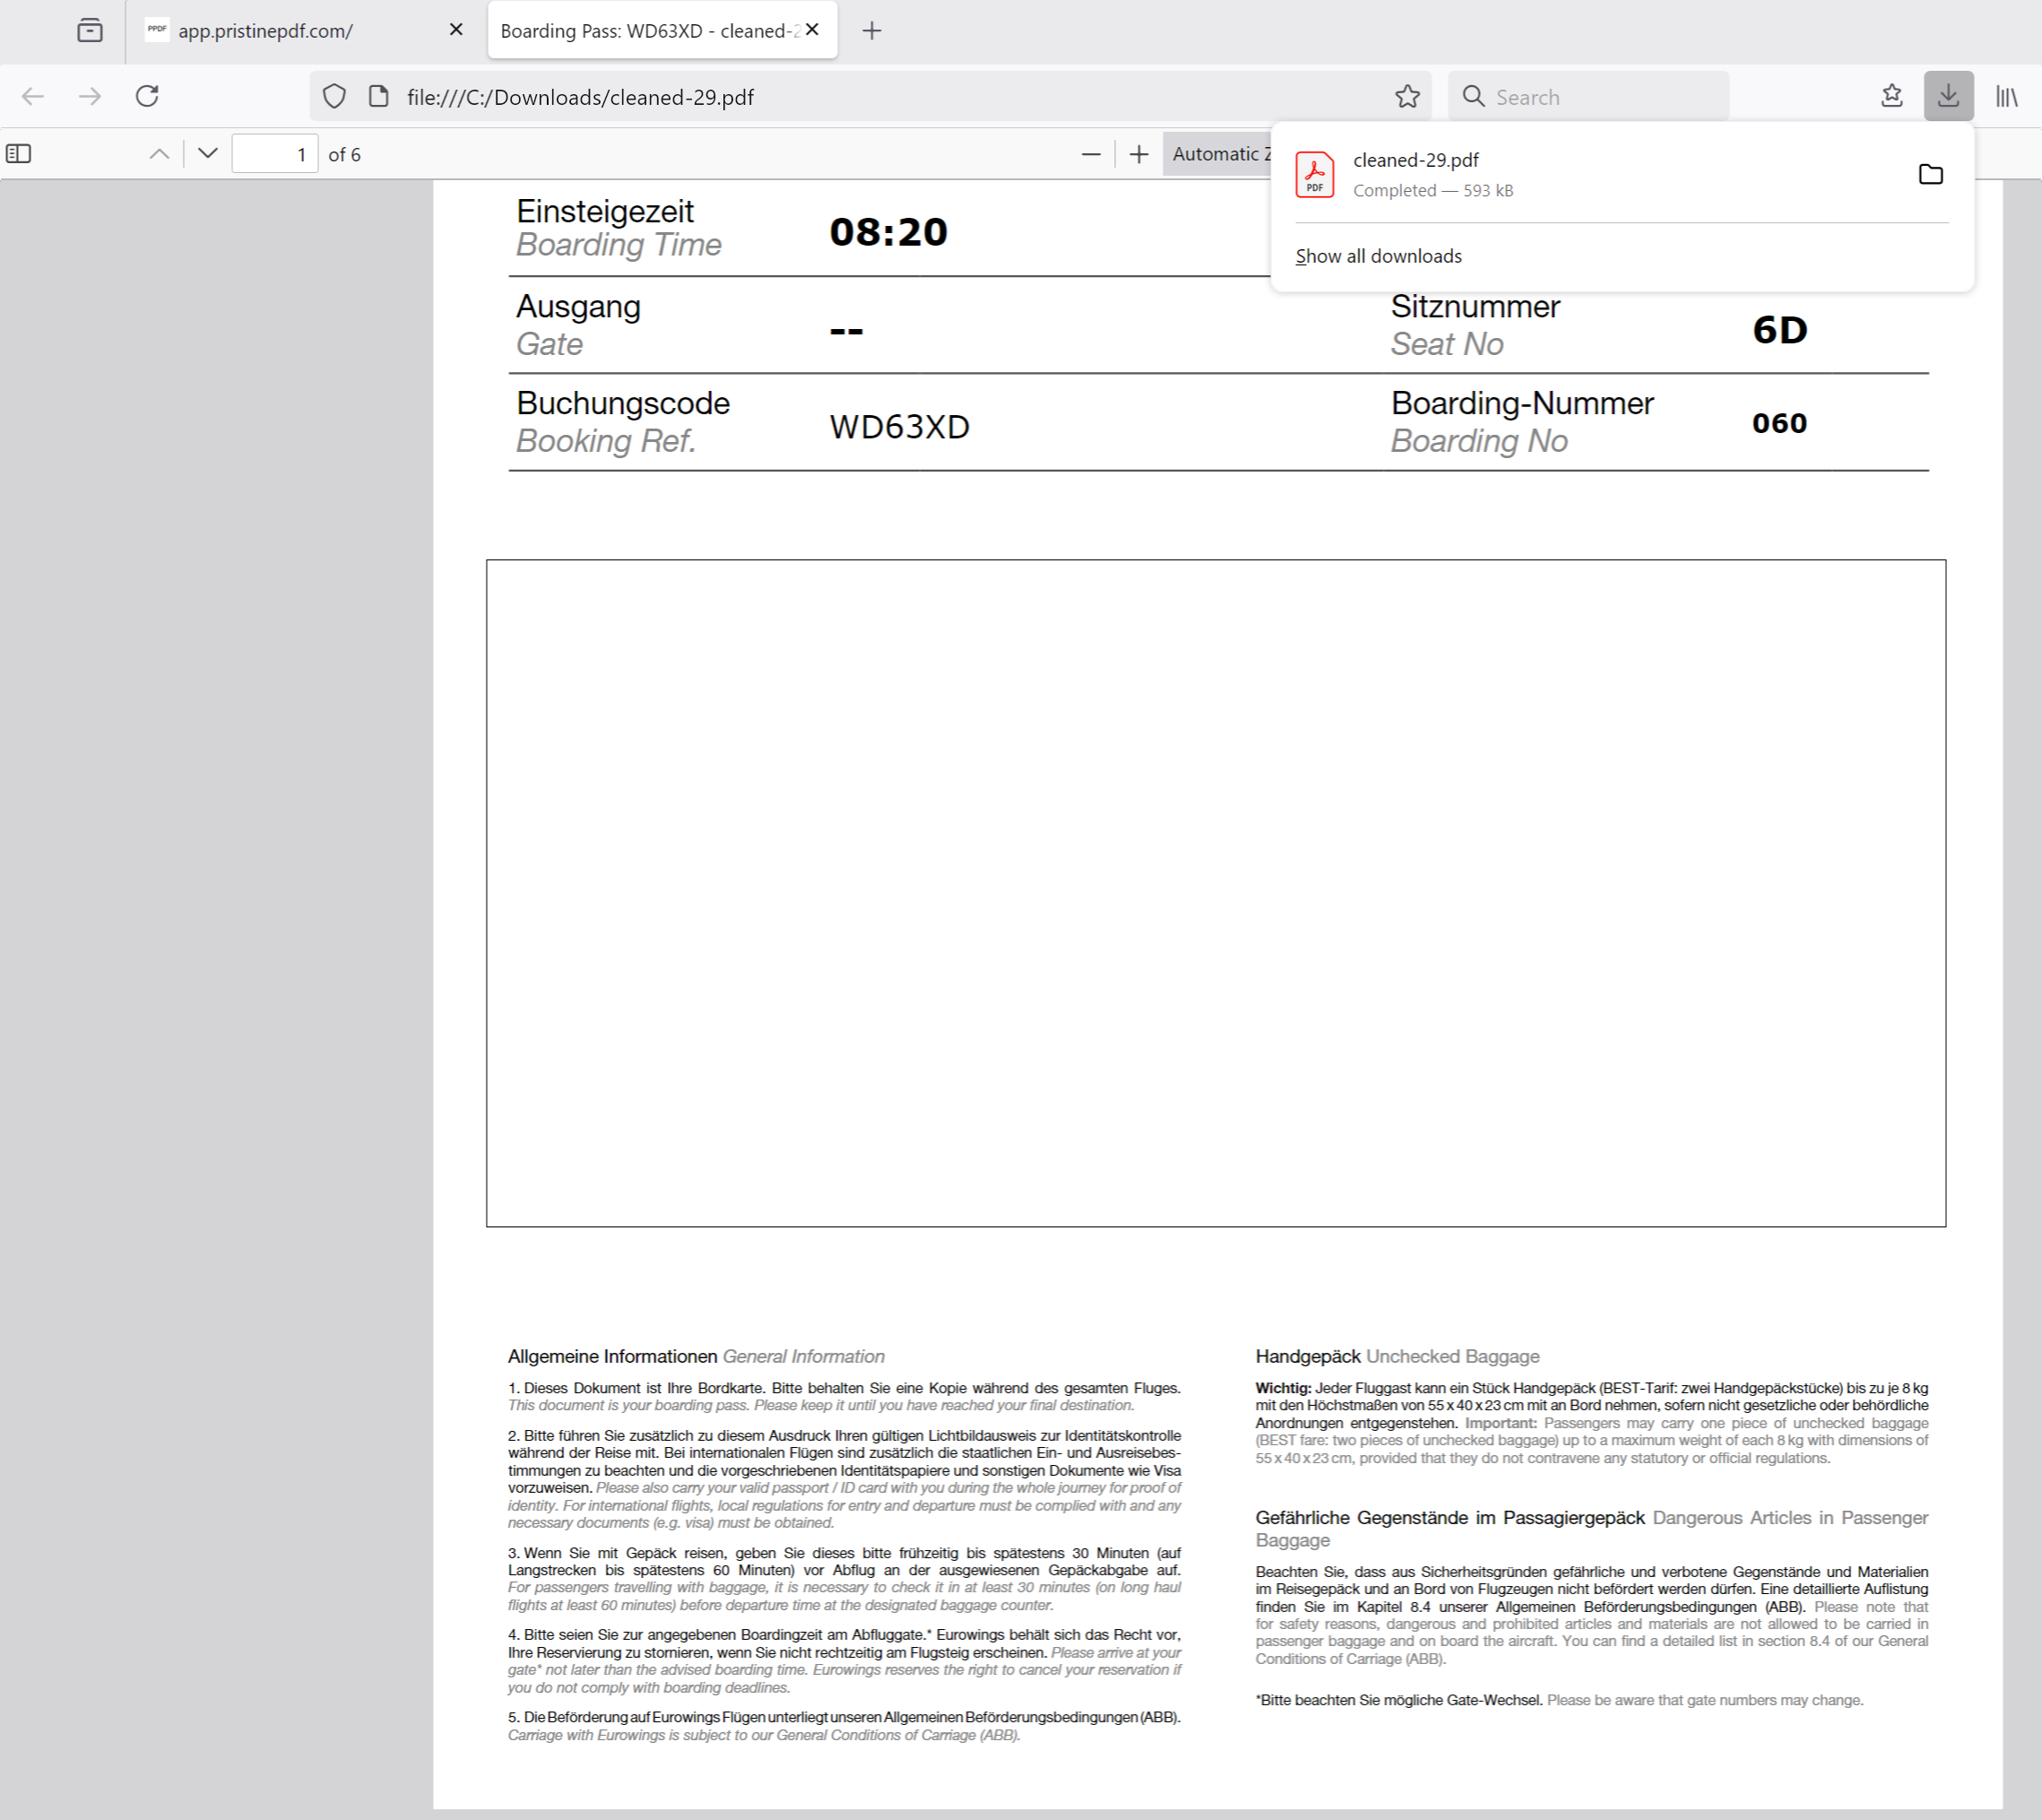
Step 6: Download PDF document (alternative)
Alternatively, go the download section in your browser and go to the download directory for further processing.
